Inside pouring ornaments eliminates 95% of the mess, 100% of the need to seal a project, while kicking the fun factor into overdrive (you won’t want to stop.)
I began pouring acrylic paints for the first time in July 2017. It was not long before I was pouring on glass, plastic, fabric, the dog….
I wanted to try pouring on glass and plastic holiday ornaments so watched a couple of videos to see how to get paint to stick to glass but I only found videos showing how to pour on the outside of surfaces. Outside pouring was a bit too ambitious (messy) for me to take on and so I decided to pour on the inside of glass and plastic instead of on the outside. I have mobility issues and so I found this method to be more rewarding because setting up to paint and cleaning up afterwards can be a challenge and this method is practically mess free!
Here are step-by-step instructions for creating your own beautiful holiday ornaments using my reverse dirty flip method.
Artist Tip: Art is for everyone — if you have children, try plastic ornaments and tempera paint!
The Reverse Dirty Flip
Reverse – because you pour in the exact opposite order (reverse) of how you would pour on a canvas.
Dirty– because you dirty pour directly into the glass ornament.
Flip – because the method used to create the most brazenly beautiful effects requires a flipping motion.
The Reverse Dirty Part
You want the most beautiful effects to show through the glass so it is important to visualize your “canvas” in reverse.
In order to get effects to show through the glass they must be on the BOTTOM layer of paints inside the ornament. In other words, paint that is on the bottom shows, and paints that rise to the surface will not show. (When you pour on a flat canvas, you pour to get the effects to rise to the top.)
When using paints straight from the tube or bottle, heavier paints want to sink and more fluid paints want to rise to the surface. As paints rise and sink they pull on each other and mix in various ways that can create wonderful effects.
If you put your heavy paints into the pour first, your lighter weight paints won’t sink down. As you prepare your paints, it helps to keep them of similar consistency, but not all the same. To make all the ornaments seen on this page, I used paint right from the container and did not thin them with water or a pouring medium.
As you can see, I layer paints based on thickness — not color. Pour in thinner paints first, and add heavier paints on top. It is okay to add a few extra drops of lighter weight paints (a good technique when adding metallic paints) on top of the heavier, but do so towards the sides on not directly into the middle. This will allow you to pull some metallics (or any other thinner paint) out to the sides to ensure is does not get lost.
If you don’t like where some paint falls into the dirty pour, use a straw to move paint around inside the ornament. Scrape the paint to disturb it, or gently blow through the straw into the ornament trying to move paint with your breath.
Color Tip: If you want more green (or any color) to show in your ornament, but your green is your heaviest paint, try adding another shade of green below the heavier green and add a little more of the heavier green than other colors. Before you flip, carefully rotate the ornament to move the greens more to the sides so when flipped, greens will show more. The benefit of adding a lighter shade of green just under the darker is that when the paints move and pull, you will get better results as the paints blend and tend to appear more gradient.
Next Step: The Flipping Part – Throwing Down Ornaments!
Important Success Tips
- If you decide to dirty pour into a cup first and then dump the cup into the ornament, bear in mind that you will have a difficult time controlling the results as when you dump the cup into the ornament, your paints will want to settle heaviest to lightest. You can still get great results, but they will be less of a control and more of a surprise!
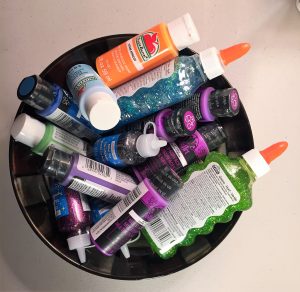
- I do NOT recommend using silicon for this pouring method. I only use paints from the bottle or tube, alcohol ink (without using alcohol), india ink, and, glitter glue.
- I do NOT recommend use pouring medium as it is not necessary and you want the paints to move less and dry faster, not slower.
Once you have the basic feel for this art form you SHOULD try your own techniques and experiment with various media. Just because something did not work well for me does not mean it can’t work well for you!
(Click on images to view them full size in a new tab.)

Layered by thickness of paint with thinnest paints poured first on the bottom: (1) purple alcohol ink, (2) scarlet red, (3) metallic cobalt blue, (4) neon purple, (5) splatters of translucent gold with glitter.
I allowed the paints to sit and mix on their own for about 15 minutes. When they looked like this I threw them down using the reverse dirty flip technique.

I wanted more cobalt to dominate so for this one I poured more cobalt and less purple. You can see purple ink already swirling into the blue and gold in the center and the cobalt, because it is heavier, is sinking. The scarlet rises, so it will be less dominant when the ornament is flipped. If I changed my mind and wanted more red and purple, I could have tilted the ornament slowly to force thinners paints on top more to the sides where the paint will flip into more prominent places.

For this last ornament, I added more ink to get a deeper purple. You can see the purple ink start to climb. This is a great technique for building a “frost” appearance, but you must allow ink to thoroughly dry. To help preserve the fanning effect when dry (or in case you want to add more paint layers on top of the ink later later on, glue will help prevent bleeding.) I also swirled this ornament with a straw before throwing it down.

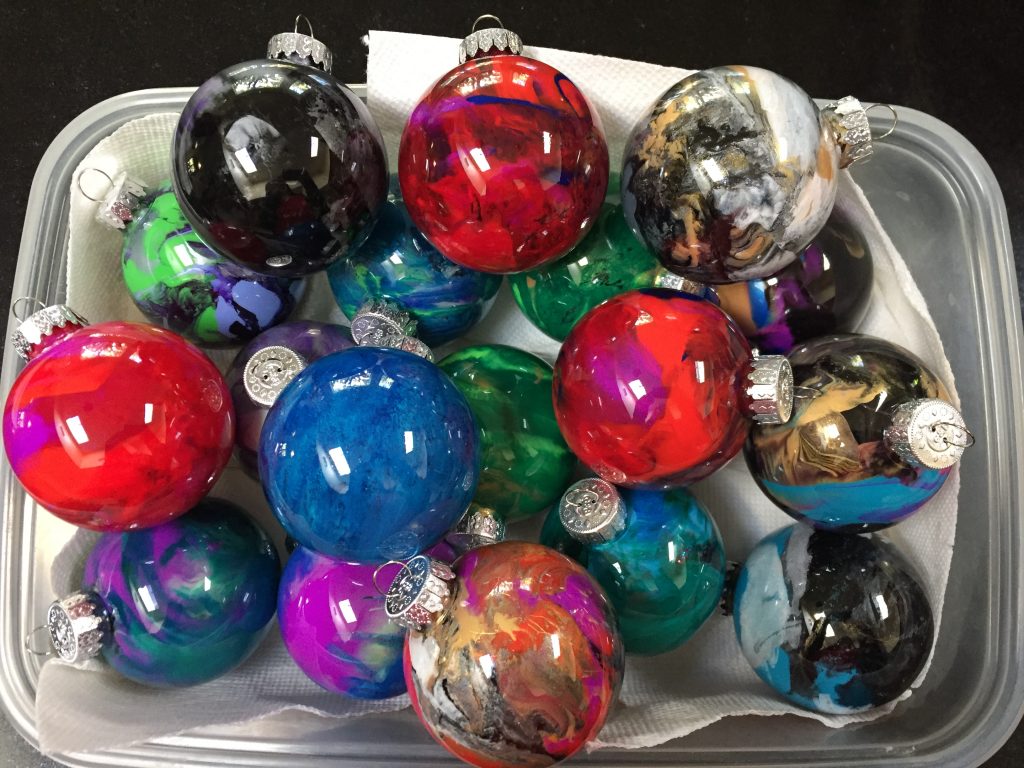
The ornament on the left (painted) is the end result of the mixture of paints shown in Example 1 above, after the flipping method. The ornament next to the finished one is Example 2 waiting to be flipped.

The above photo (left to right) shows Example 1 and Example 2 completed, and example three waiting to be flipped.

Next Up: The Flipping Part - Throwing Down Ornaments!