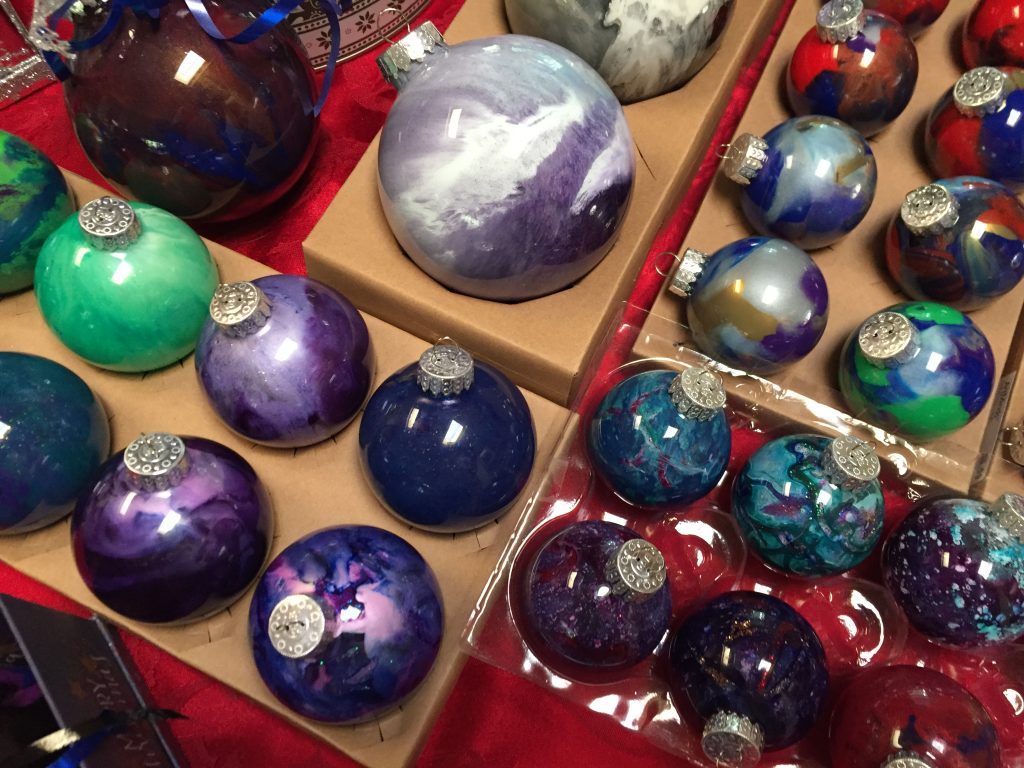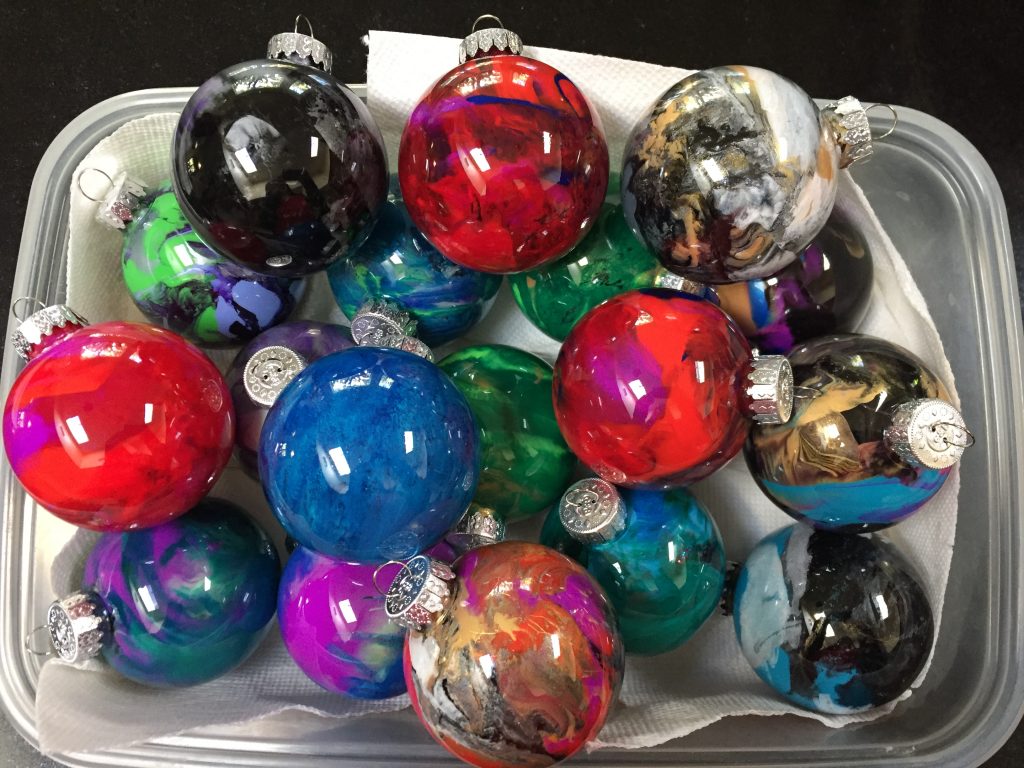
“Throwing Down” is the term of endearment I have given to the process of creating my dirty pour ornaments. When I am working with them I tell my family I am going to go throw down some balls. One of my daughters protests this term as it apparently is similar to a term used to describe “dropping” LSD. I can assure you when I say “throw down some balls” I am not referring to drugs and man-parts — just g-rated-fun Christmas ornaments.
I developed this painting technique because I quickly found that simply rolling paint around inside of ornaments did not work very well. Rolling or swirling paint inside them did not create a solid bond between the paint and the surface (glass is even fussier than plastic) so paint slid down the side on my earliest attempts.
I have tried washes, paint brushes, glue, silicon — thick paint — alcohol ink — even blowing into the ornament to try and dry things in place. After about a dozen ornaments I figured out there are several flipping movement techniques that seem to force the paint to stick a little better. I also figured out that NOT thinning paints almost always works best.
Be sure to wash your hands (oils can make balls slippery and harder to handle) before handling glass or plastic.
How to Throw Down Ornaments Using the Dirty Flip Method
In this method, “dirty” refers to how you applied paint (poured all paints together directly in the ornament) and the word “flip” refers to the hand-wrist motion you use to move the paint around.
If you are new to pouring, it is important that I clarify that there is also a term “dirty cup flip” that involves pouring paint into a cup (the dirty) and flipping it onto a canvas. Some people shorten this term and simply say they are doing a “dirty pour” or a “dirty flip.”
Dirty cup flips are not the same thing as the Reverse Dirty Flip.
The above video shows dirty cup flips (which are not the same thing as the Reverse Dirty Flip used to make the ornaments.)
After preparing your ornaments using the reverse dirty method, prepare to flip!

Step 1
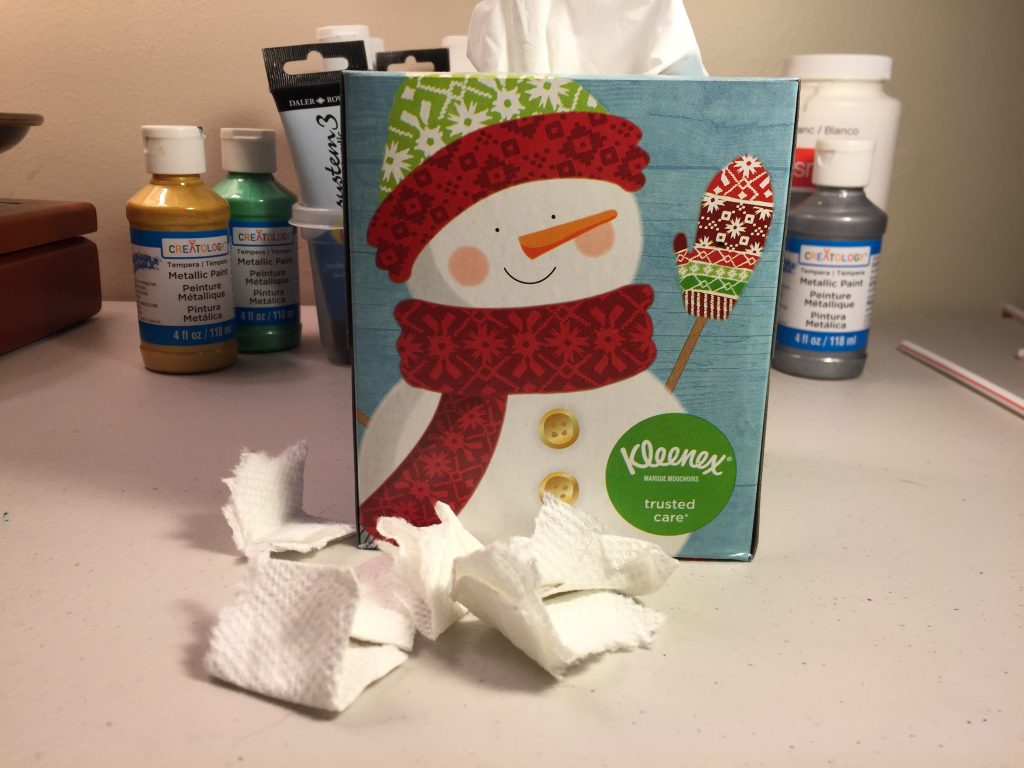
Tear off small strips of good quality paper towels or tissues (quality is especially important if you are using ink). Fold the strips several times to make a nice protective pad.
Step 2
Place the paper towel/tissue pad over the top of the ornament. Place thumb on top of the pad and press down just enough to create a seal and to ensure a good grasp on the ornament. Wrap other fingers around the sides and bottom of the ornament as best as you can.
Step 3. Throwing Down Ornaments
Holding the ornament with the bottom facing down, and your thumb on the topside, slowly raise the hand holding the ornament to about eye level being careful not to disturb paints.
Quickly move the ornament in a downward flipping motion to move paint. Continue flipping until all major portions are covered using a soft upward motion and a rapid, aggressive downward motion. You can also use reverse this motion and put the force on the upward swing to move paint in different directions and create new effects.
If you did not get complete coverage, switch hands and apply the same flipping method until covered. You can also try turning the ornament on its side in your hand and repeating the same flipping motion to target new areas.
If your paints are not interacting on their own, you want more of one color to be prominent you can move the paint before throwing it down by:
- Stir paint mixture in the ornament with the end of a straw;
- Swirl it by gently by hand to get thinner paints moving better.
Troubleshooting Paint That Won’t Cover
Plastic vs Glass Ball Ornaments
My husband seems to feel glass is superior to plastic when it comes to ornaments and only complements my glassware. Plastic is easier to work with than glass. Glass does seem to pick up more light and reflect more light than plastic, however, plastic is more forgiving in that it holds paint better and they are not breakable if dropped. You can also choose high gloss paints to increase the reflective properties of your ornaments.
Can you tell the plastic from the glass ornaments?
